Easy peasy Pinterest-inspired door wreath for all seasons

For years, I had a door decoration for each season. I loved decorating with evergreen and ribbon for Christmas (snowman the rest of winter), a wreath with flowers for spring and a different flower wreath for summer. Fall was a cutie patootie scarecrow. About a year after we got married, I think I just got too busy and preoccupied to care about what was on our door. That, and where we lived in those first three years to  capture the wind and whatever we had hanging on the door would bang incessantly with the slightest breeze.

Now that we live in our own home, I’ve wanted to get some of my seasonal mojo back so where better to look than Pinterest? I saw a pretty popular type of DIY wreath that involved flowers, burlap and a letter (first initial of family’s surname) or a word in cutout letters. I decided I wanted to make something similar but most of the examples had stuff I just didn’t jive with, especially the burlap. I liked the rustic concept, but it seemed like brown fluffy ribbon to me. I didn’t want fluffy.

Considering I had made several of the wreaths I used before getting married, I thought “I so got this.” That’s pretty funny coming from me, though because I’m not what one would consider crafty. I set out to the craft store thinking it has to be easy. Just buy burlap, a grapevine wreath, some fake flowers, a letter, paint (I didn’t want white), and lots of glue. Right? Wrong. It was easy, but it didn’t even take all that. I love what I ended up with because it will be easy to convert for each season, meaning I don’t have to make a whole new wreath each time!

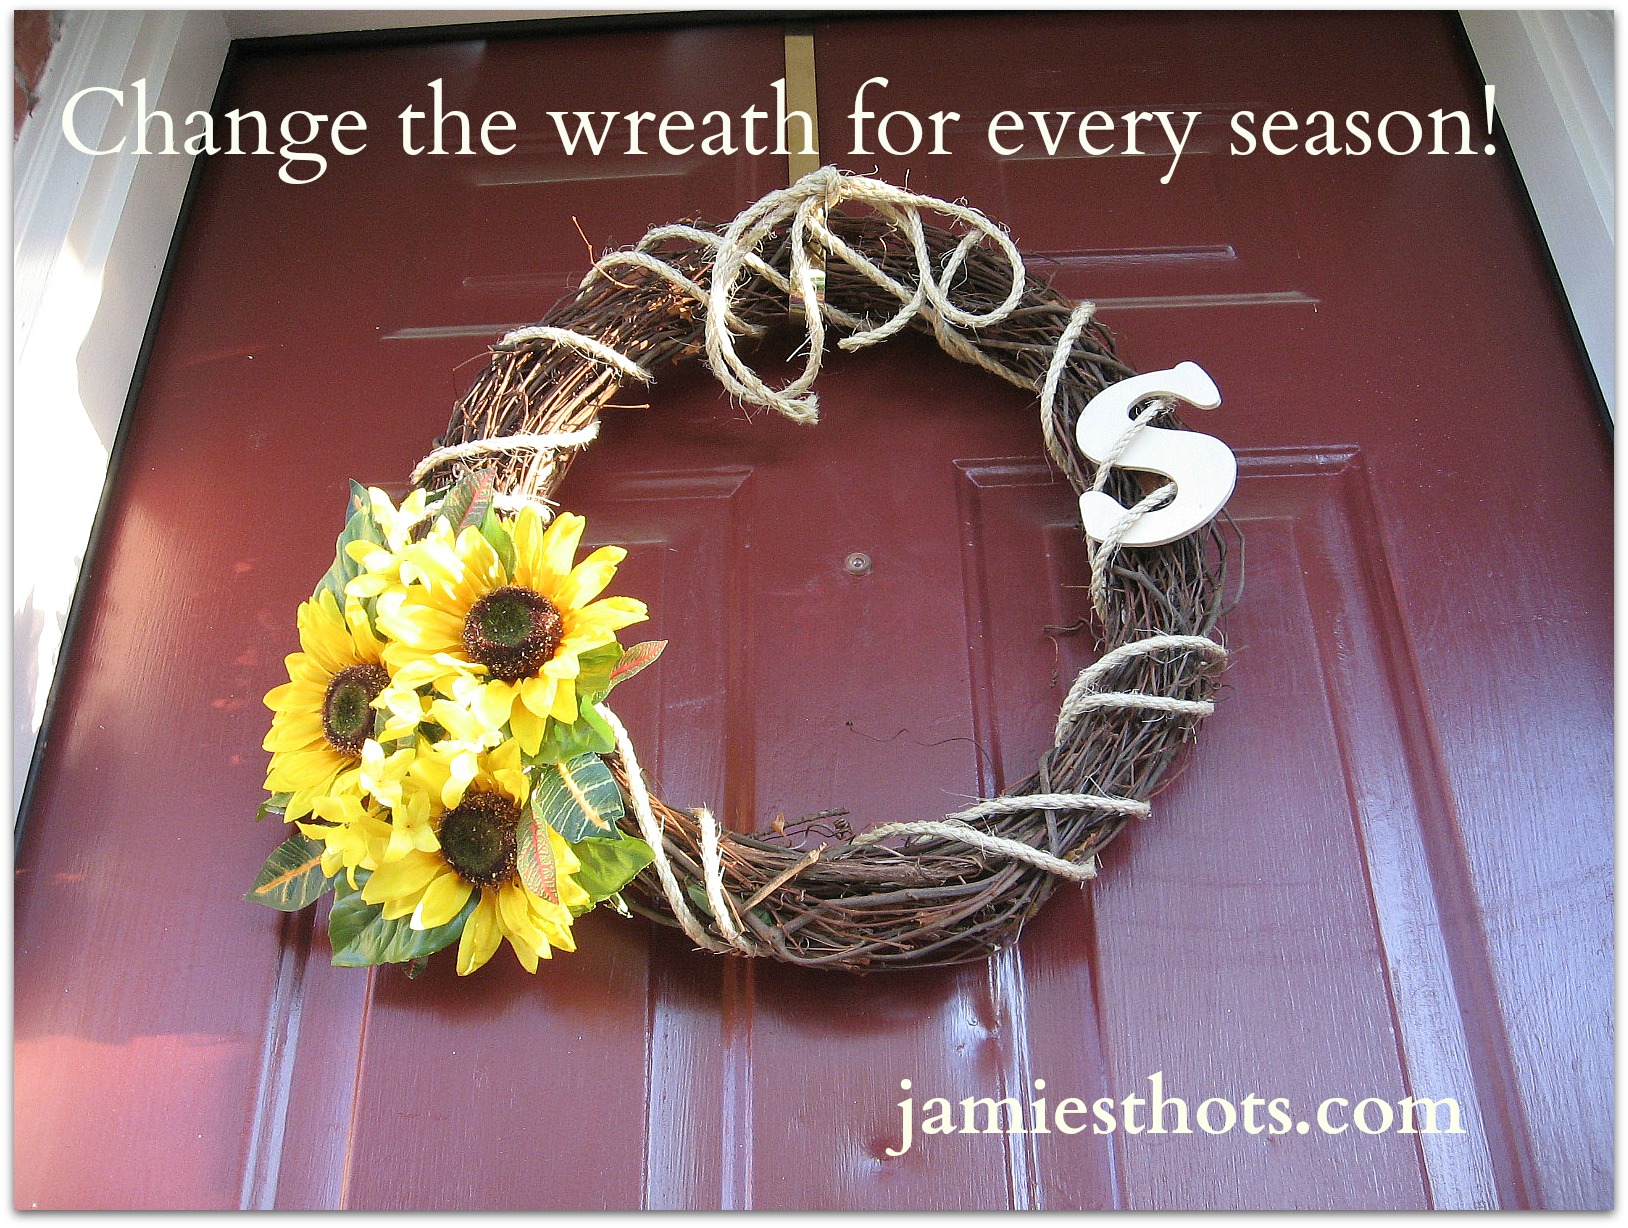
Let’s see how I made this wreath but first let me share what I ended up with:

This wreath was inexpensive to make and can be easily converted for each season.


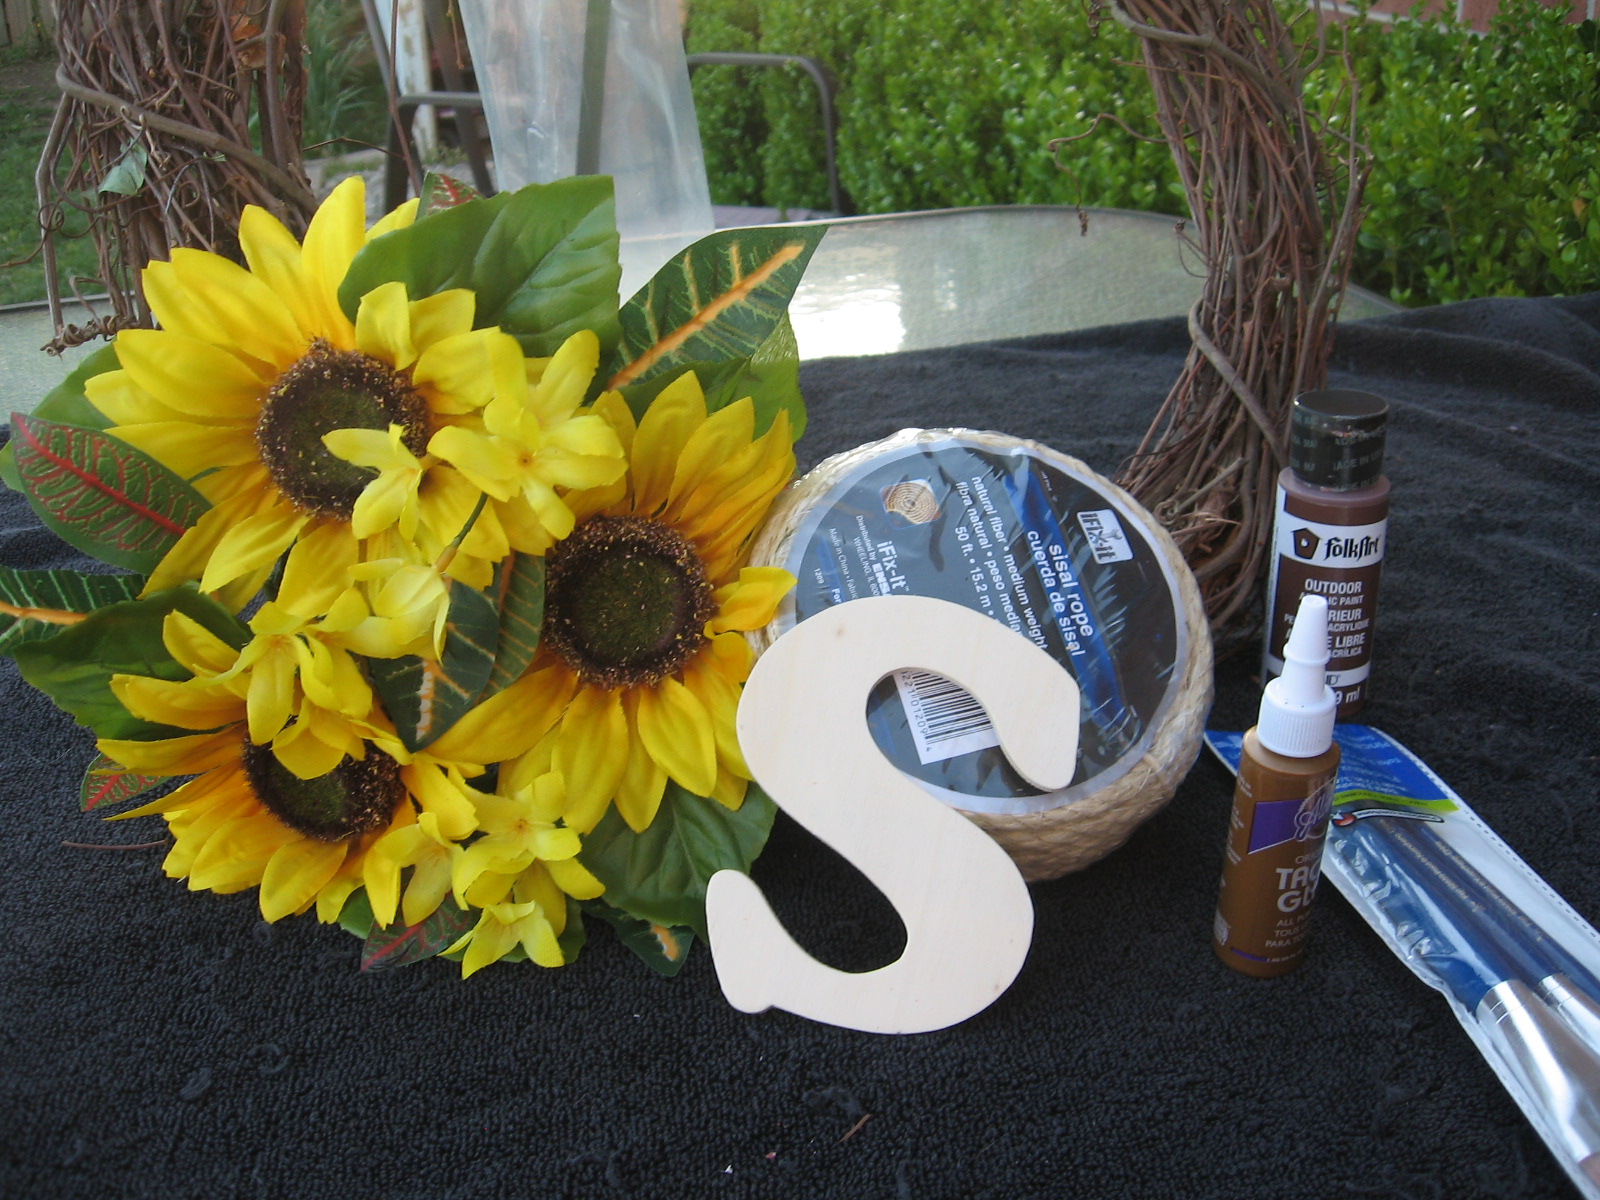
What you need to make the flower door wreath

I ended up not even using all the supplies I purchased!

  • I ended up not even using all the supplies I purchased!

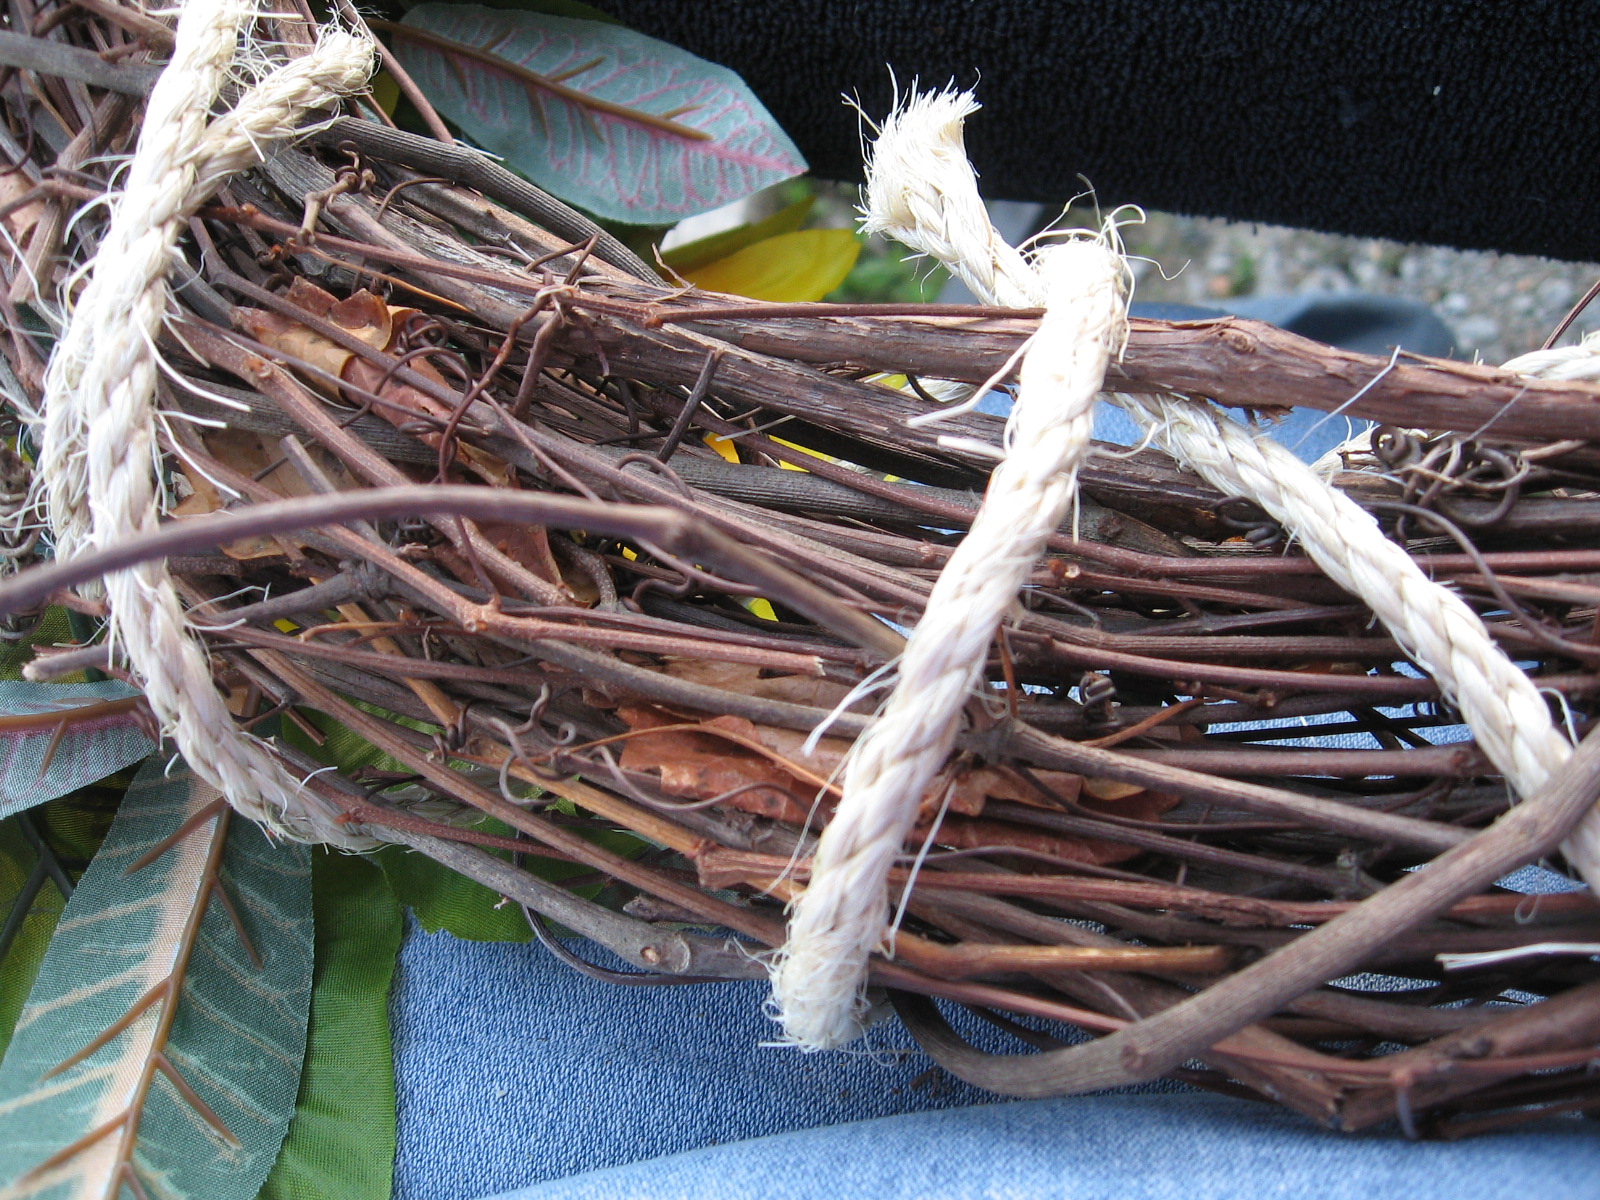
    A grapevine wreath (the one I chose for our 36″ inch door is an 18″ wreath)

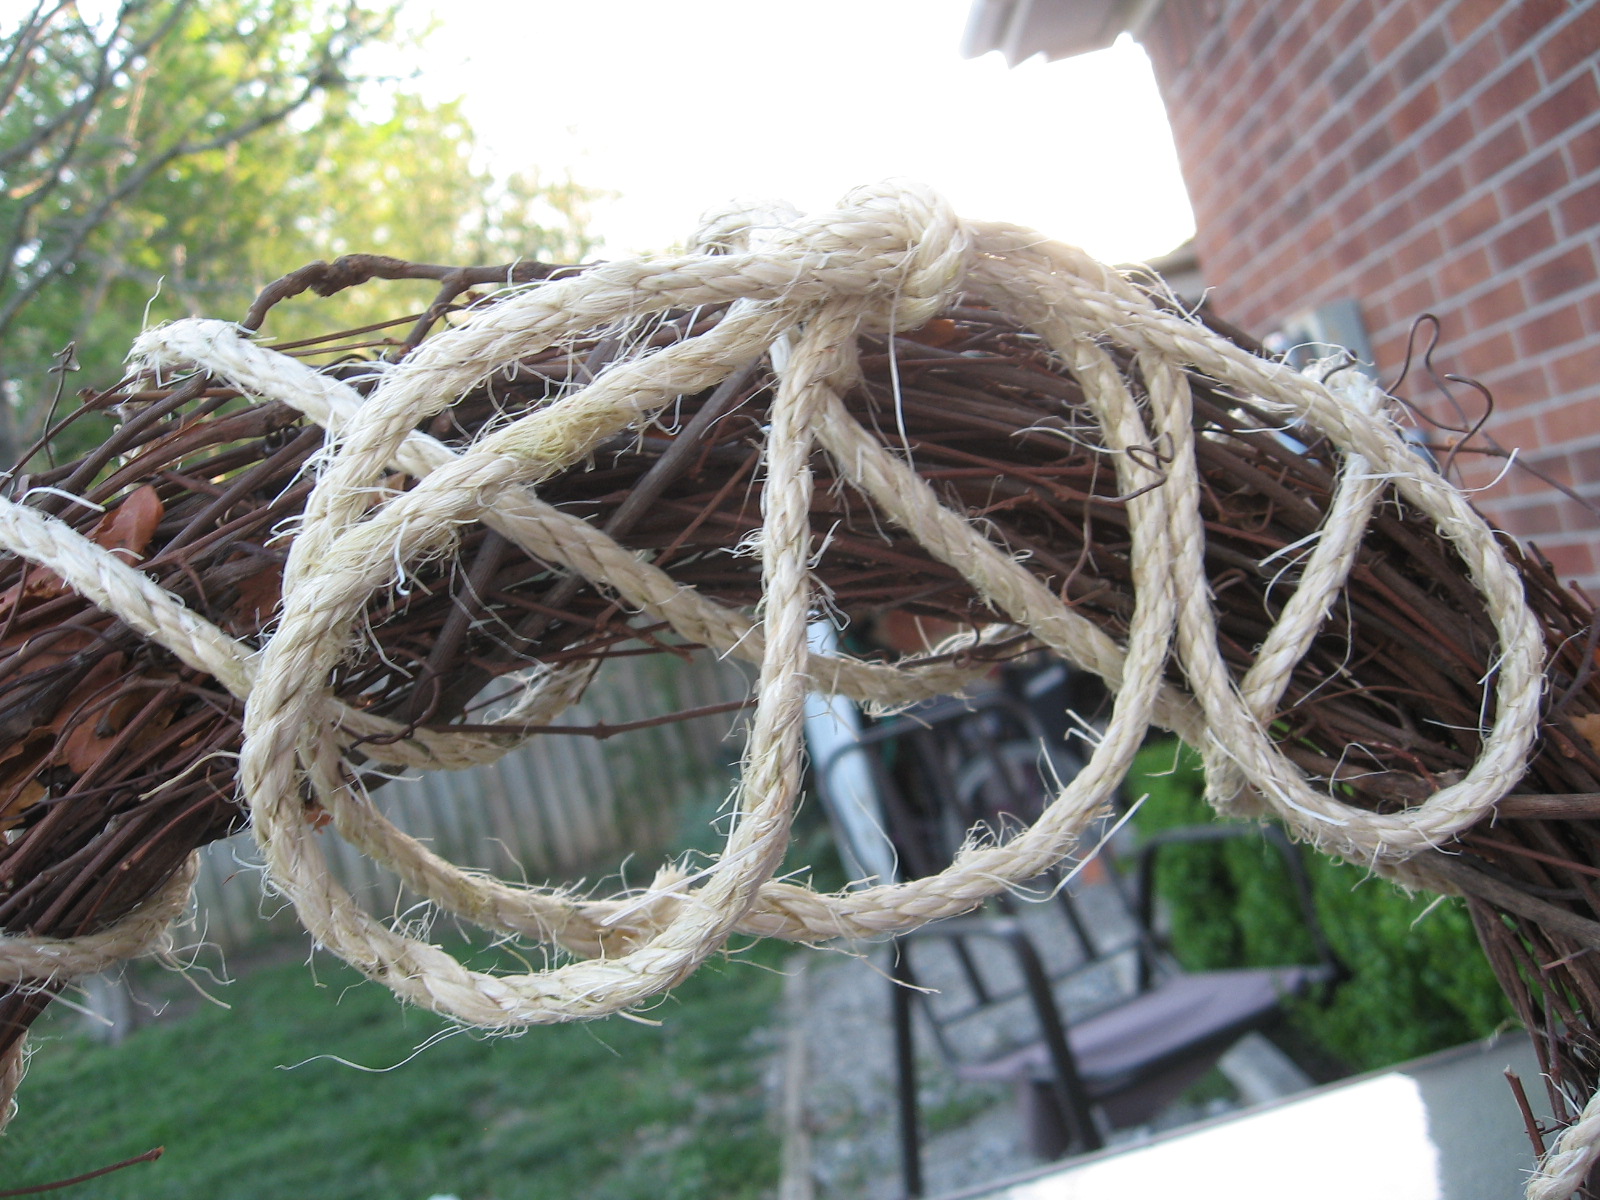
  • A package of sisal rope (thin rope, usually found in the home repair section not the crafts. If you want to use burlap, don’t bother buying it from the craft store. Call a local chain restaurant that serves peanuts. The peanuts come in burlap bags and they will usually save them for you).
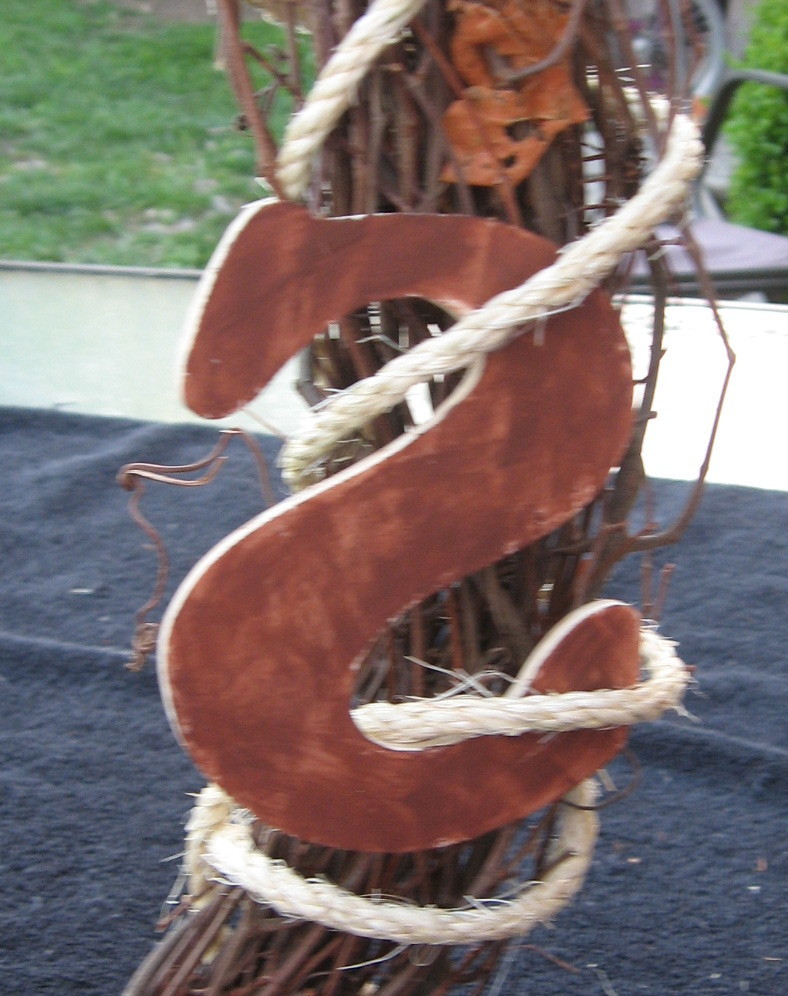
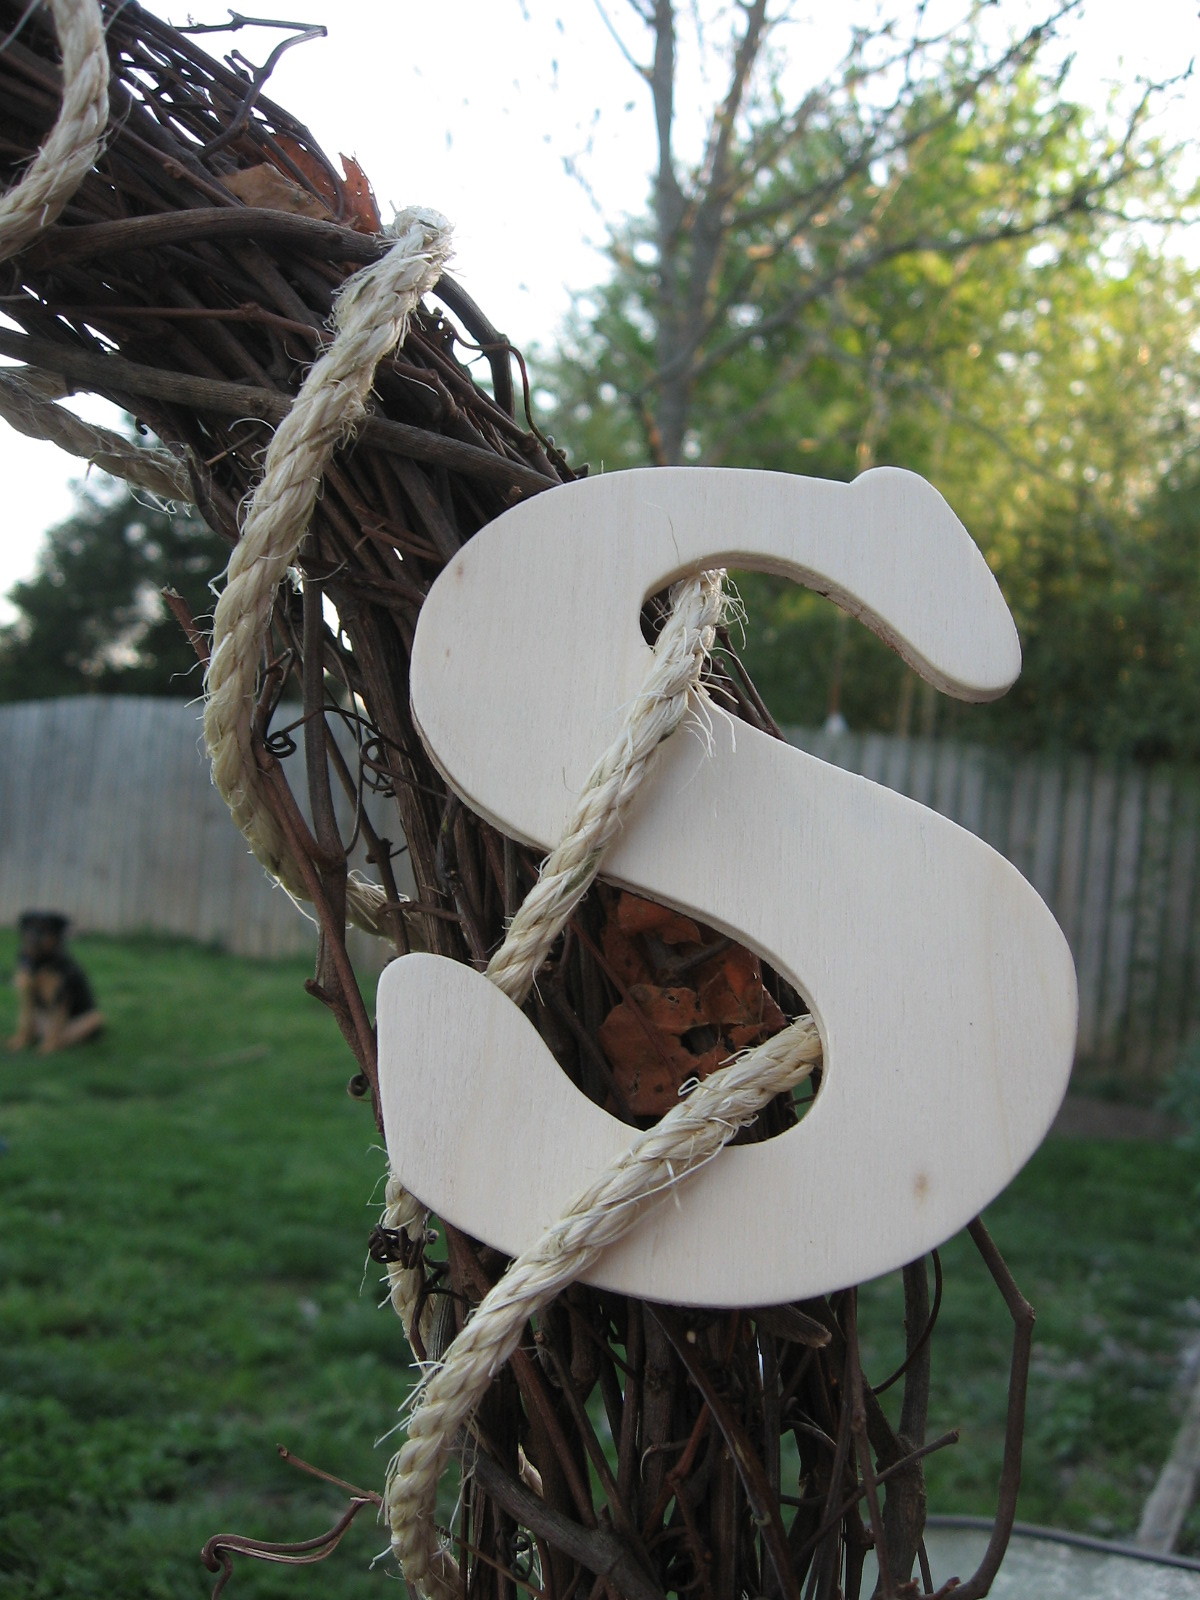
  • Wooden cutout letter or word that you want to use
  • Paint and paint brushes if you want to paint the letter (I ended up not painting ours. It was not stark white and trying to get a complementary color that didn’t clash with our red door or remind people of sports teams was too annoying)
  • Wreath door hanger
  • Fake flowers that are already in a cluster or ring of some sort (usually not with the stemmed flowers in the craft store. I found them on an end cap)

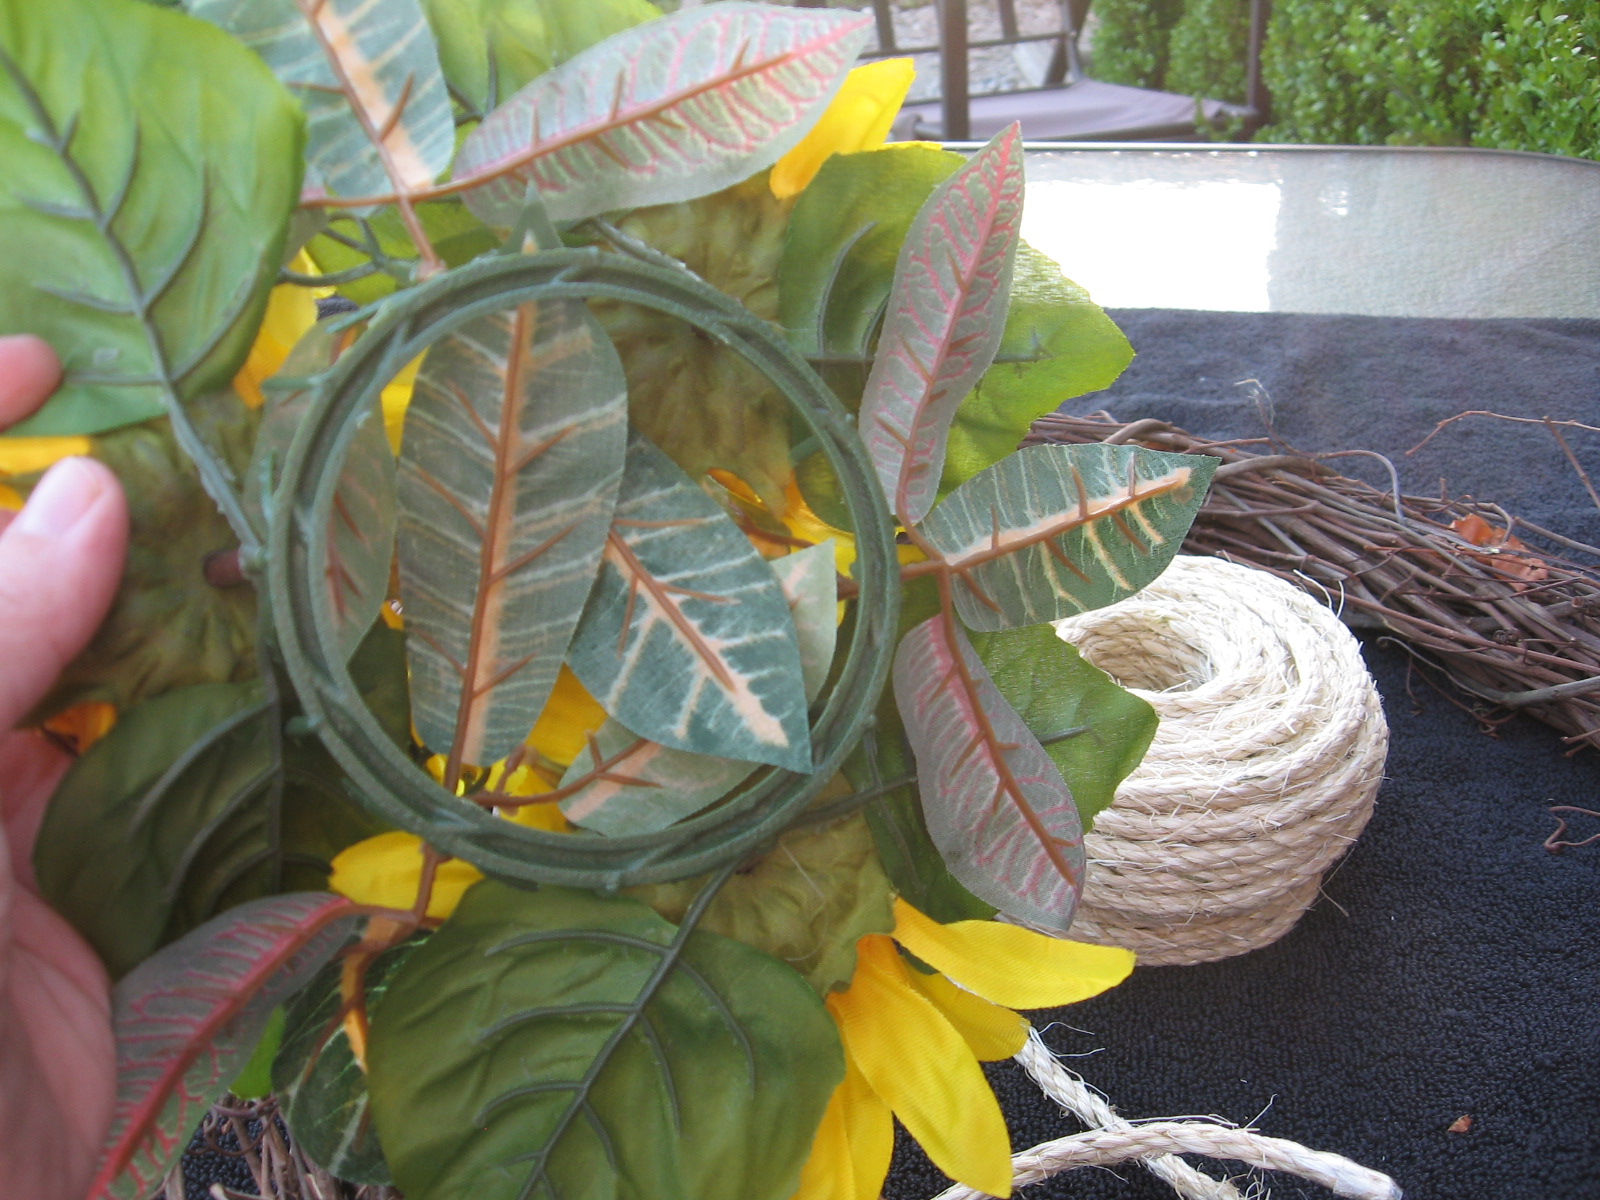
Making your door wreath creation

The cluster of flowers I purchased were in a ring already, making it easier to manage for this project.


I started by looping the sisal rope through one side of the flower loop then through the grapevine wreath then through the other side of the flower ring. This secured the flowers to where I wanted them on the wreath.


I then loosely (but not too loose) looped the sisal rope around the entire wreath. I went around a second time in an opposing direction to give it more of a visual presence but I think next time I will just double strand it so that the individual rope strands look thicker instead of more plentiful. When you reach where you want to stop, clip the sisal rope and tuck it in to the wreath. I left this edge untucked for the sake of the photo so you could see that it's not glued.
I then loosely (but not too loose) looped the sisal rope around the entire wreath. I went around a second time in an opposing direction to give it more of a visual presence but I think next time I will just double strand it so that the individual rope strands look thicker instead of more plentiful. When you reach where you want to stop, clip the sisal rope and tuck it in to the wreath. I left this edge untucked for the sake of the photo so you could see that it’s not glued.
The next step is to figure out what you want to do with your letter. I thought I wanted to paint mine brown (remember the color conundrum) but to make sure I painted the back of it first just to see how it looked. It looked icky. I flipped it over and pondered what color to go purchase and realized I really liked how the natural light wood color went with the sisal rope. So it is plain.


Next I simply placed the pieces of the "S" (our last name is Smith) through loops of the rope. Our letter happened to work perfectly for this but I realize not all letters of the alphabet will be this easy. I would encourage you to get a serif font letter (has the little hangy edges on the ends of the letter), giving you something to hang on to a little bit. You might need to intervene and use a bit of glue or affix your letter to something else that can then be looped through the sisal rope.
Next I simply placed the pieces of the “S” (our last name is Smith) through loops of the rope. Our letter happened to work perfectly for this but I realize not all letters of the alphabet will be this easy. I would encourage you to get a serif font letter (has the little hangy edges on the ends of the letter), giving you something to hang on to a little bit. You might need to intervene and use a bit of glue or affix your letter to something else that can then be looped through the sisal rope.


I felt like mine needed some kind of bow or something at the top. I think this looks a little lame but I didn't want anything more fluffy or flamboyant than this. It looks a lot better from the street, though. I just tied a bow and double knotted it at the top.
I felt like mine needed some kind of bow or something at the top. I think this looks a little lame but I didn’t want anything more fluffy or flamboyant than this. It looks a lot better from the street, though. I just tied a bow and double knotted it at the top.


I think that the sisal rope complements the rope that is used to hang our bird feeder (the little tiny porch swing looking thing).


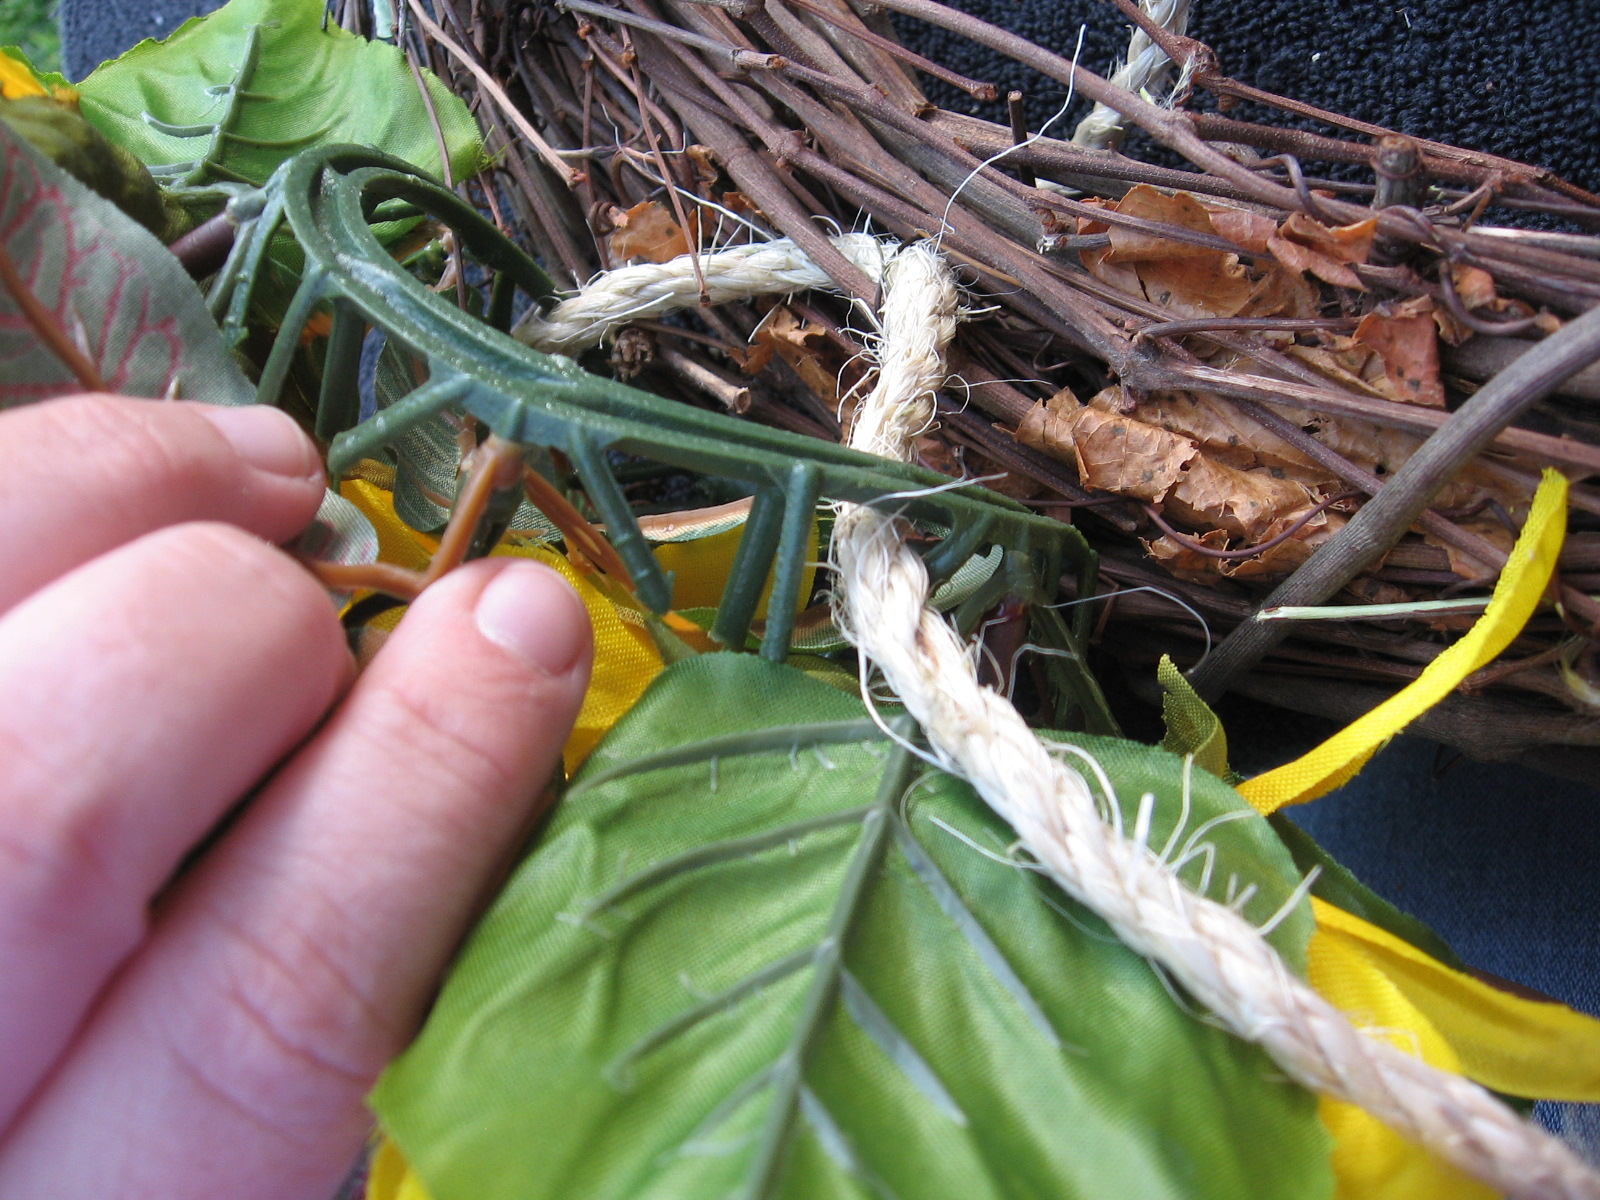
All in all, I’m pleased with the results. The cool thing is, the little things that bother me can be easily changed or fixed because I used no glue or permanent methods at all. This also means I can take it apart and change out the flowers/foliage to fit the season.


3 comments / Add your comment below

Leave a Reply

This site uses Akismet to reduce spam. Learn how your comment data is processed.